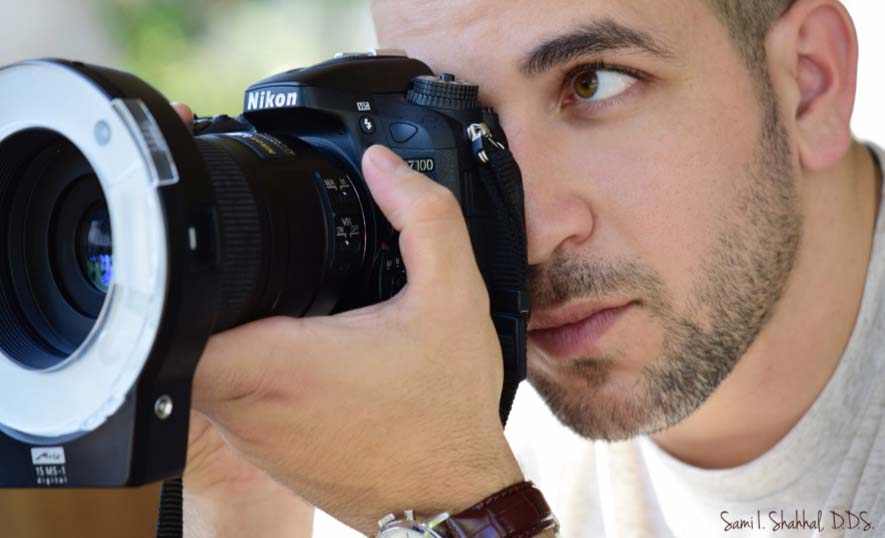
In this dental photography guide, I will go over STEP BY STEP all the tools you need to take incredible dental photos at your office every single day. I will also provide a FREE PDF that has all the information you need to start taking incredible photos.
There are so many websites out there with conflicting information as to what photography equipment you need to take incredible intraoral photos at your dental practice.
So I decided to make an easy-to-understand guide that explains the basics of dental photography
Lets jump right in . . .
Table of Contents
WHY LEARN DENTAL PHOTOGRAPHY?
The millennial dentist needs to learn how to take incredible dental photos for a number of reasons. I've listed my top 3 reasons below:
- Laboratory Communication
- Patient Education
- Dental Marketing
Lab Communication
The most obvious reason to learn dental photography involves your ability to enhance communication with your dental laboratory. Inaccurate shade selection is one of the primary reasons for lab remakes which will cost your practice an invaluable amount of chair time.
Patients expect work to be done efficiently & simply taking a photo w/ the shade guide tab dramatically increases your ability to accurately shade match restorations.
Now, there are a variety of dentists that work almost completely digitally, so this reason might not be enough to purchase a dental camera setup. So, let's move onto the next one. . .
Patient Education
This is by far my favorite reason to learn how to take incredible dental photos. We live in the "Information Age" where transparency is essential to building trustful long-lasting relationships with your patients.
You would be surprised at how grateful patients will be if you take the time to show them photos of their teeth as a tool to explain your diagnosis & support your treatment plan. It's not unreasonable for patients to doubt our treatment plans if they have had bad dental experiences in the past.
Use dental photography as an educational tool that will help you stand out as a doctor who cares about their work.
DOWNLOAD THE FREE PHOTO
QUICK START GUIDE (PDF)
Enter to Win Free Course Material
Now you may be thinking that a small intraoral camera will get the job done. You may be right, but intraoral photos does not match the incredible resolution that a proper DRLR setup allows for.
Dental Marketing
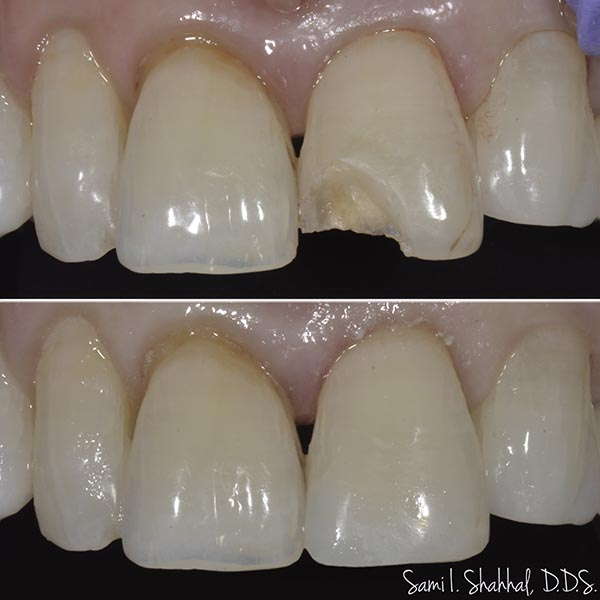
Everyday consumers purchase products through photography & videography. It’s the same in dentistry. Incredible before and after photos of porcelain veneers will make the difference between someone choosing your dental practice or going to the dentist across the street.
If you understand how to operate dental photography settings & how to use light to capture beautiful images of your work then you will gain recognition in your community
If you understand how to operate dental photography settings & how to use light to capture beautiful images of your work then you will gain recognition in your community. Patients know when stock images are used in dental advertisements. It would be much more powerful to put your own work on these mailers / fbook ads.

This photo was taken w/ the same DSLR camera I use to take dental photos
DO I NEED A DENTAL PHOTOGRAPHY COURSE?
The simple answer is no. . .
I learned dental photography primarily through dental blogs & YouTube videos that clearly go over photography settings, lighting & lenses.I took everything I learned & applied those principles to my dental office.
The best way to learn is through application. I set a goal to take a minimum of 2 dental photos a day. Eventually I got more proficient at taking these photos until it became second nature. I have attached some YouTube videos below which have helped me get better at taking dental photos.
Dental photography courses are incredibly useful for those that don’t know where to begin. I’ll share some links of dental photography courses that I trust. Feel free to google “dental photography courses near me” to find local instructors that will be able to teach you photography techniques.
BEST CAMERA FOR DENTAL PHOTOGRAPHY?
There are so many different cameras that you can use to take dental photos. Nowadays, your iPhone / Android have such incredible technology that allows you to take beautiful photos from such a small device.
And to be honest, I have used an iPhone to take pictures of pathology or other restorative work when I need to snap a photo quickly
However, it is has now become the standard in the dental industry to take professional dental photos w/ a DSLR camera. All the DSLR cameras take incredible photographs & you don’t need to get caught up on whether to purchase a Nikon or a Canon.
I personally use a Nikon DSLR Camera for dental photography because that’s a personal brand that I purchased for hobby photography long before taking dental photos. Today, there are hundreds of choices to choose from but in this guide I’m going to keep it incredibly simple & give the most standard recommendations whether you purchase a Nikon or Canon.
Make sure to get the FREE PDF that has all the information described here.
SURGICAL EXTRACTION TECHNIQUE COURSE!
DENTAL EQUIPMENT GUIDE (STEP BY STEP)
Step 1: The Best Dental Photography Camera
Nikon & Canon have a variety of camera bodies that serve different purposes in photography. Some of the more expensive models cost upwards of $1600 while some of the basic models can go for about $500.
I would recommend purchasing a “crop sensor” camera that is lightweight & reasonably priced. It needs to be lightweight enough so that your entire staff can comfortably take photos w/ ease. If you are taking lots of dental photos in your office, you should expect accidents to happen & you may need to replace a lens or camera body multiple times throughout the lifetime of your practice.
Accordingly, you need to buy something that doesn't "break the bank" .
I cannot recommend any Canon camera because I have never used a Canon in my life. However, I do own multiple Nikon cameras (4 different iterations) which I use every single day. I have also attended multiple dental photography courses & my highest recommendation goes to the NIKON D7500. It's lightweight, easy to use & perfect for anyone looking to take some awesome dental photos.
I have attached some referral links below & I encourage you to compare the premium Nikon D500 to my recommended D7500. You will notice that the differences are incredibly minor for someone interested in dental photography so choose the more affordable option.
NIKON D500
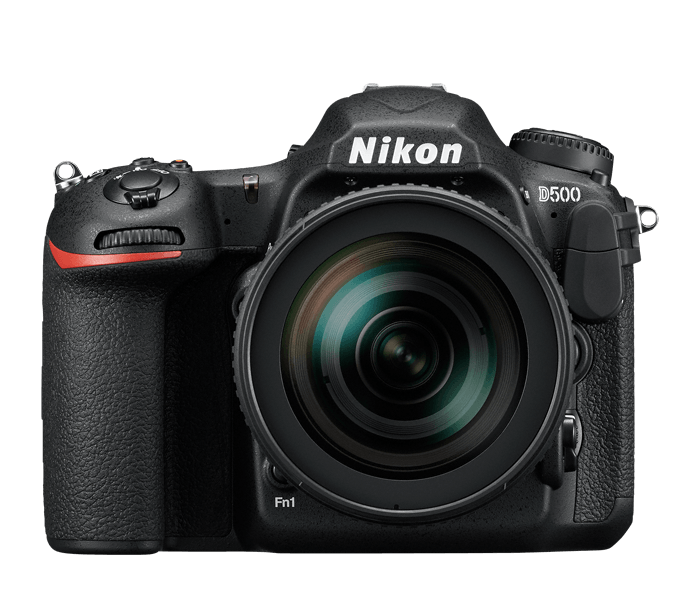
Outperforms other Nikon Cameras on Video Performance w/ 10 FPS
$
1496.95
NIKON D7500
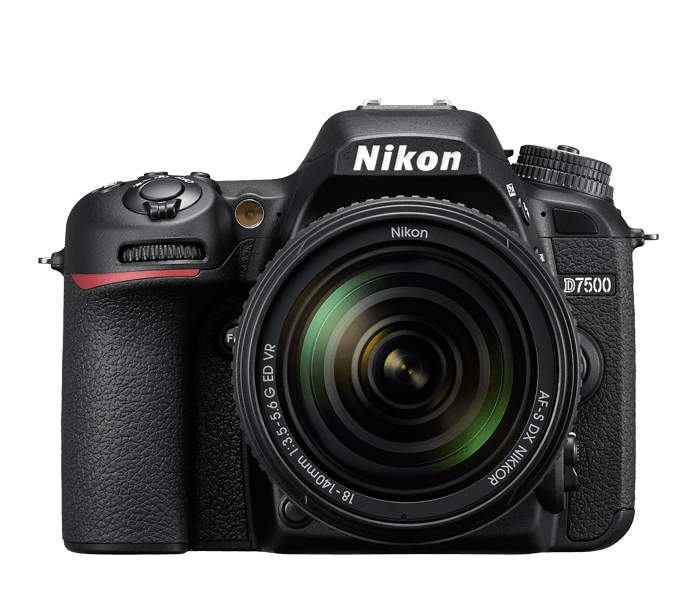
Creative working space, not noisy, fully equipped and convenient
$
796.95
Step 2: Dental Photography Lens Options
A proper macro lens is an essential component for your dental equipment setup. Once again, there are a variety of options to choose from when deciding which dental lens to buy for your office. The standard macro dental photography lens that most dentists purchase is the 85mm lens. This type of lens will allow you to take incredible quadrant photographs. I have included some photos in my rubber dam isolation blog post.
This is the lens I work with every single day. More importantly, this lens will all you to take beautiful before & after photos for anterior aesthetic work where your patient is smiling.
Now, if you are looking to get those spectacular single tooth photos that show the incredible fine detail then I would recommend getting the 105mm. I haven’t purchased this lens; however, I’ve seriously considered buying a 105mm for those type of shots.
Once again, I recommend you check out the specs comparing some of the most popular Nikon lenses for dental photography:
Nikkor 105MM
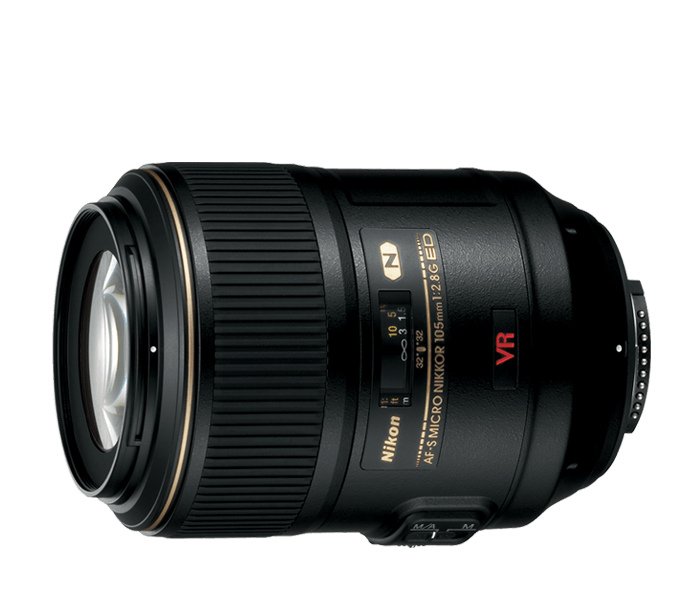
Single tooth photography used in tandem w/ full frame Nikon Cameras
$
899.95
NIKKOR 85MM
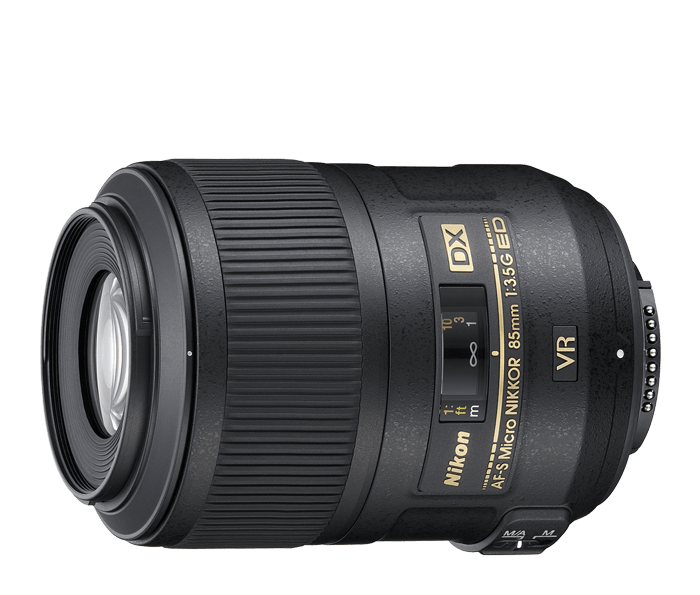
Most Versatile Lens for Dental Photography
$
428.39
Step 3: Dental Photography Flash System
Understanding the difference between a ring flash and a dual flash system is so incredibly important in the dental photography space. As a beginner, I would recommend purchasing a ring flash system so that you can jump right into taking amazing photos for your practice. I have used a ring flash system for the past 8 years & its allowed me to take the dental photos that you’ve seen in this blog post. However, I have made the switch to a dual flash system for more creative control over my dental shots.
Let’s go over the differences.
The ring flash system shoots a large volume of light in one direction towards the teeth. This is perfect for illuminating a dark subject like the inside of someone’s mouth. However, this large volume of light can cause some harsh reflections off the teeth which can give you a less then desirable out come. With that being said, I have had incredible success using the ring flash and I would recommend it for anyone starting out in dental photography
The dual flash system differs in that you can control the direction of two different light sources when taking your dental photos. This will allow for a more even distribution of light on your subject (teeth and mouth). It is more technique sensitive & requires some work; however, mastering this system will allow you to take some incredible photos.
Check out the specs with my referral links below:
MEtz-Ms1
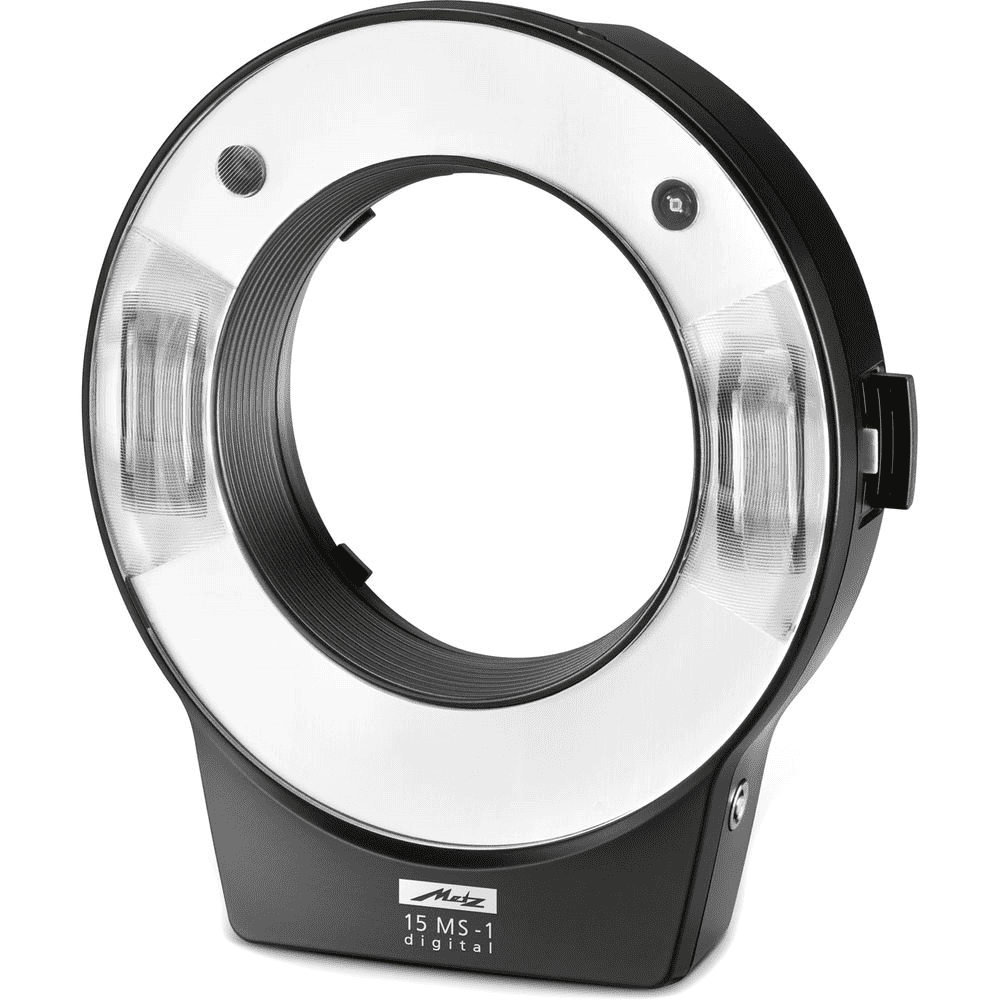
Choose the Flash System if Beginner
$
466.69
Nikon R1C1
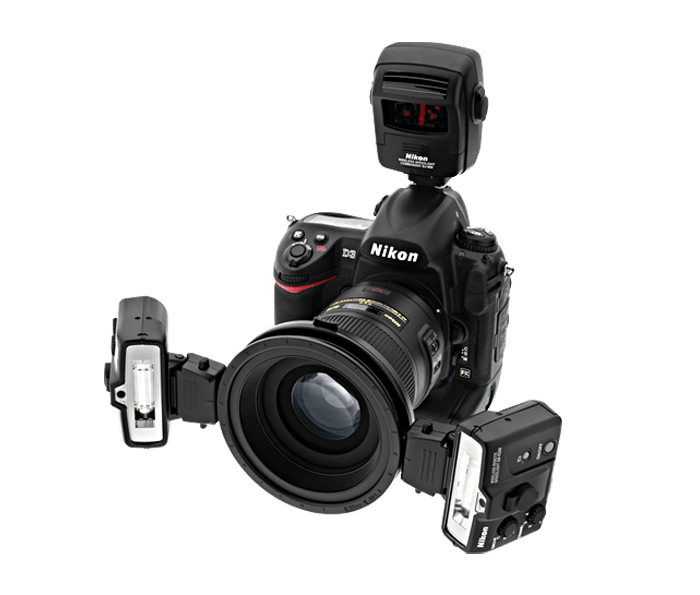
Versatile Flash System if Advanced
$
699.00
That's it!
This is all you need to start taking incredible dental photos at your practice today. Purchasing proper dental photography equipment has changed the way I practice dentistry & is a must for anyone trying to elevate their dental career. The next section is dedicated to specialized accessories to aid in your photography techniques
Step 4: Dental Photography Mirror Kit & Cheek Retractors
Dental Occlusal (Buccal) Photographic Mirrors are important when you’re getting into comprehensive treatment planning, orthodontic treatment & case presentations. Mirrors allow you to take a series of photos that capture the entire mouth & give you a much more complete overview of your patient’s oral health.
There are a variety of different mirrors that can be found online. I have provided referral links to the one’s I recommend below. Mirrors get scratched incredibly easily which ultimately renders it useless. It’s incredibly important to train your staff on how to use & sterilize the mirrors properly in order to increase the longevity of the product.
Cheek Retractors go hand-in-hand with proper dental mirrors. They allow you to move the soft tissue out of the way so that you can capture what you want to capture (teeth) without any interferences or obstructions.
AZDental mirror Reflector
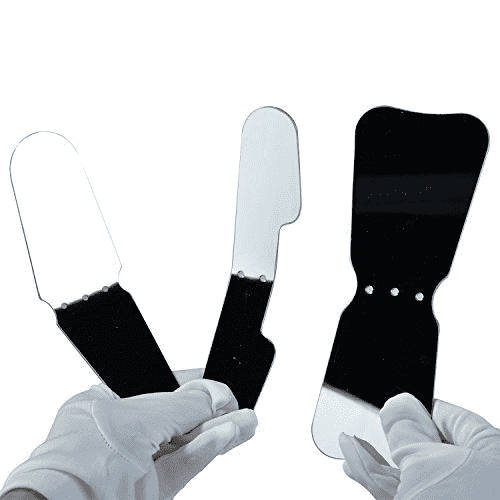
Awesome Mirrors w/ Handles Attached
$
52.99
Black CHEEK RETRACTORS
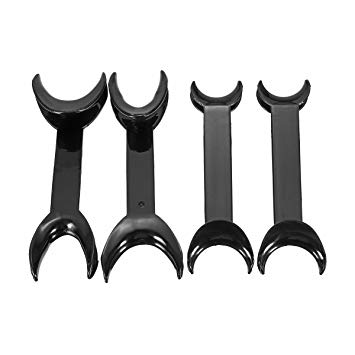
Versatile Flash System if Advanced
$
13.39
Step 5: Dental Photography Contrasters
Dental contrasters give that sleek black background seen in before & after photos. Its a bit of a novelty but it really looks nice for dental marketing purposes. There are many way to achieve a black background but the easiest way is to use a contraster to block out the oral tissue like the throat/tonsils. Check out these popular contraster dental kits below:
Aosome dental contraster
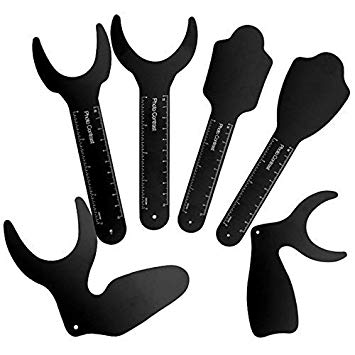
Awesome Mirrors w/ Handles Attached
$
39.99
Well, that goes over all the different accessories to take awesome dental photos. I hope you take the time to review all options before purchasing anything. I tried to make the equipment guide as easy to follow as possible & I hope it helps.
Now let's put it into action
MINI DENTAL PHOTOGRAPHY COURSE
Dental Photography Settings
A DSLR camera gives you the ability to change aperture, shutter speed & iso. As you become a more experienced dental photographer, you will be able to change these settings with ease when trying to achieve a desired outcome.
However, the vast majority of photos will be taken w/ a particular setting for intraoral photos & a particular setting for extra oral photos. I have attached a table that will help you quickly identify the photography settings for each:
Intraoral | Extraoral | |
|---|---|---|
SHUTTER SPEED | 1/125 | 1/125 |
ISO | 100 | 100 |
APERTURE | f/22 | f/8 |
MAGNIFICATION | 1:10 | 1:3 |
Sometimes, it may get confusing on how to adjust the settings on the physical camera. So I've attached a video that clearly goes over how to access the settings mentioned above. If you already know how to access those settings then skip this step and move onto the next part
How to Take Dental Photos for a Comprehensive Examination
Taking a full series of dental photos accurately can be incredibly difficult. The more photos you take the more natural it will come. Persistence is the key to taking perfect intra-oral photos every single time
I always start with the full face & smiling photographs first. These are the easiest to shoot and give you a bit more confidence moving forward. I then move on to more difficult shots until I finish with my maxillary & mandibular occlusal photographs.
I haven’t made a YouTube video on this just yet so please take the time to watch a video I found which highlight this technique perfectly.
Full disclosure: I receive a commission if you purchase the dental products through my referral links. This helps me run this blog & I appreciate the support.
DOWNLOAD OUR FREE SAMPLE OFFICE MANUAL
(LIMITED TIME OFFER)
Enter to Win Free Course Material


